Showing posts with label Kid Party Ideas. Show all posts

Saturday, October 19, 2013

Roos-n-More Zoo

Mommy Vegas Idea #12

Camels, and Monkeys, and Wallabies, OH MY!
Ever wish you could have a pet monkey, or maybe a few kangaroos in the backyard? I sure have, and then I think about the mess... and being that my child labor force is small, both in numbers, and stature, I realize it would be ME... or rather, some anonymous gnome who would get saddled with keep things inhabitable... and think better of it! 
But seriously, wouldn't it be great to have all sorts of awesome critters in the backyard? Well, if it doesn't have to be YOUR backyard, you could!
Roos...
...n-More... Roos!
This isn't your typical backyard, and these aren't your typical pet owners. The Holt Family of Moapa Valley has collected over 150 beautiful animals to share with us, the general public, at their non-profit Roos-N-More Zoo.  The best part, you can feed them, observe them, and even snuggle a few, for only around $10 a person (at the time of posting)!  Ok, maybe that's not the best part... you can do all those things, AND not have to clean up after them, for only around $10 a person! If you DO want to clean up after them, that's free; ask about volunteering! :)

The habitats are well kept, the people and animals are ever so pleasant (those that are allowed to mingle any way... this could apply to the people too, but we're of no authority on that! :), and the experience is unobtainable anywhere else in Southern Nevada.  In fact, on the heels of the Las Vegas Zoo's closure a few weeks ago, you'd have to travel about 300 miles just to smell another binturong, hold a lemur, follow an African spurred tortoise, stare down an eagle owl, hold hands with a capuchin monkey, chat with a cotton-top tamarind, see a cavy, feed a kangaroo or watch a sleeping fennec fox (just to name a few).
shhh.... don't wake him....
My what big ears you have!
The Details
For some time, this warm-hearted family of veterinarians has opened their home to critters of all sorts, but they also welcome private tours by reservation, special events and parties (also by appointment) and public visitations a few times a month.   As they are only open to the public 2 to 3 times a month, we highly recommend checking... and double checking... their website for "Open Zoo Days," and plan your trip accordingly.  Plan to arrive around 9:45 am, as the gates open at 10 am (at the time of posting, so check their website for current hours) and there is quite a line. Also keep in mind that some add-on activities are limited on space, so the earlier the better. 

"Why aren't we ever open on Hump Day?"
The zoo is not huge (which we like for the little guys), but fairly diverse and there are not many places you can get so close and "personal" with so many exotic creatures. There isn't quite as much posted information as I usually like, but it looks like more signage may be in the works. What they lack in printed materials, they make up for in quality manpower. They do a beautiful job keeping plenty of knowledgeable people roving the grounds with critters in hand, answering questions, disseminating knowledge, and guiding animal interactions. If given the choice, I would take the people over signs any day!  If you too like the written word, they have a fun little email newsletter you can signup for on their website!
Don't worry... they don't bite... ;) hard.
The next opportunity to visit on a public zoo day is Sunday, October 20th, but if you're looking for a fun Halloween activity, they will be open on October 27th, from 1 - 5 pm, for a special Halloween themed party of sorts, complete with candy, games (rumored to include the animals!), and even a creepy crawly booth featuring some choice arthropoda! In accordance with all the added festivities, the entrance fee will be $15/person for the afternoon. 
If you'd rather a more intimate experience with the animals and their handlers, you can reserve the zoo for private parties and educational tours for a very reasonable fee! Visit their website for more information!

Getting the Most Out of Your Visit
  • Get there early - They recommend getting there prior to 11:30 am, you'd be hard pressed to see it all before closing time.
  • Splurge on the food - There is no outside food, but you can buy some small food packages for the critters at the gates. The animals aren't slow, they know the difference between and empty hand and a full one. You'll get the most "love" and better pictures if you don't come empty handed!
  • Bring the Camera :)
  • Pack a lunch - While you can't bring food into the park, you'll likely be hungry either mid-visit, or when when you're done, and there isn't a whole lot near by. 
  • Visit the little house in the center of the property, you'll not only meet a gorgeous little sloth, but you could hold a monkey or a wallaby joey, or who know what else! There is also a gift shop, and restrooms too!
  • Have your money ready at the gate. They do a great job announcing pricing and available add-ons before opening. Figure out how much your admission will be while in line and have your money ready!  The line can be quite long, and while they are fairly efficient and keep the line moving, you can help by making your turn to pay a speedy one! The sooner you get in the sooner you can play!
Add-On Experiences: There are several add-on experiences you can purchase at the gate and space is limited, so if you think you may want to try one, be sure to purchase them at the gate.  

Walking with the otters is going on right now. There is plenty to see and do without this add-on. But if you have some diehard otter fans, you may want to splurge, otherwise, you're not likely to see otters at all. 

The roo experience add-on is cute, but may not be worth it for most families (particularly bigger familes). You get rather close to the kangaroos, wallabies and cavies just by observing them through the fence, and there are even opportunities to feed and pet them. But if you really want the chance to sit next to a wallaby or really get close, you can pay a few more bucks to enter the enclosure with a guide. 

Want to see even more?! Schedule a party or tour! This is truly an unbeatable value!
 
Getting There
Address
746 Snowden Ranch Road
Moapa Town, NV 89025

WHOOO wants to visit the Roos-N-More Zoo?
Estimated Drive Time: About 40 minutes from the edge of town.

Don't let the address spook you, the drive goes pretty fast, but it is a great idea to carpool!  We had a wonderful time with our friends the Midnight Gnome and her hubby the Photo Gnome (great place to snap some pics by they way! I can see the Christmas cards now...*Mom, Dad, the little ones and a Joey... *-Caption: Merry Christmas to Roo and a Hoppy New Year! Too corny? ;)

General Directions:
Follow me! We'll be there in no time!
To get there from Vegas:
  • Take I-15 Northbound, head out of town towards Mesquite/St. George, Utah. 
  • Take Exit 90, SR168/Moapa Valley
  • Merge onto 168W you'll soon see "ZOO" signs marking the way. 
  • Turn right on N Henrie Rd (just after the school). 
  • Turn right on Isola Dr.
  • Then your first left onto Sandy D., continue onto Snowden Ranch Rd. and you're in the parking area!
The parking lot fills up pretty quick, so don't dilly dally too long getting up there!
Have a great time and let us know about your visit!

Happy zooing!
-Candice


Can you believe they feed zonkey's live goat? Good, don't believe that... he just climbed in. I can't decide which is cooler, the fact that they have a zonkey, or that they have a goat cleaver enough to camp out in the feed trough!


Friday, October 11, 2013

The 2nd Week of Christmas - Little Girl's Petalled Jewelry Box

Naptime Gnome Idea #8

Silk Flower Petal Jewelry Box

This super simple decorated box can be done in just a couple naptimes with oodles of time to spare (unfortunately it needs time to dry ;)!

What you need:
  • Unfinished wooden box of your choice
  • Paint (Acrylic or spray are fine)
  • Faux Flower Petals (available in wedding section of craft stores and Wal-mart)
  • Glue (crafting glue, hot glue, your favorite sub-industrial glue...)
  • A bit of ribbon (optional, but a nice finishing touch)
  • Trinkets for embellishing
The Quick and Dirty Run-Down
Just paint a pre-fab wooden box (available for a few bucks at just about any craft store, Micheal's usually has several sizes for under $10). I used alternating opalescent- red and white acrylic brushed with the grain to get this pearly pink, then sprayed with clear coat. 

You can wrap the edge of the lid in ribbon and affix with craft glue if you like (optional). Then add artificial rose petals, starting around the outer edge of the box top.  Work your way in towards the middle, gluing one petal at a time (I used a tacky craft glue, but you could use hot glue or your sticky substance of choice).

Once you have covered the top, place a gem, charm, stone or even a pretty button in the center to cover the exposed bases of the petals. I used a pearlescent glass pebble (like the ones you put in a fishbowl), and glued four more to the base as "feet." 

When you're done, the top should look a bit like this:

Decorate the inside however you like. Stock with treasures of your choice. Package ever-so-charmingly and stash away in a MEMORABLE location (I'm not unlike a squirrel, in that I occasionally forget my caches... luckily they're just as fun to give the following year... usually). Oh, and the last step: Wait with butterflies of anticipation for the special moment when it pops open for the first time! 
 
PSST... 2013 Christmas Spoiler Alert: Don't tell, but Little Bug will be receiving her first jewelry box, much like this one, stocked with bobbles this year! *So excited I can hardly stand myself!*

ENJOY!
-The Naptime Gnome <;')

Friday, September 20, 2013

No-Sew, Kid-Friendly Table Runner in 30 Minutes or Less

Naptime Gnome Idea #6

Don't throw away the trimmed ends of pull shades! Re-purpose! 

Two dilemmas needed fixing: 
  1. We needed a kid-proof runner to cover the seam in our packing paper "table cloth"
  2. There were some several-year-old trimmed ends of window shades that needed to vacate the craft space
Solution:
A wipe-clean table runner made from castoff window pull-shade scraps

NOTE: You could do the same thing with any spare scraps of vinyl or paper. 

DIY Paper Punch Vinyl Table Runner
Crafty Gnomes: 1

Time to Complete: 1 naptime with time to spare!
Supplies and Tools
  • Vinyl pull-shade trimmed end
-Any kind of narrow scrap vinyl or paper will work.
-This same technique on butcher paper would make a pretty lacy table covering for a girls' tea party, don't forget to set the table with a Crayon Bouquet (see tutorial)!
  • Scissors
  • Paper punch or decorative shears
 
Measuring your runner
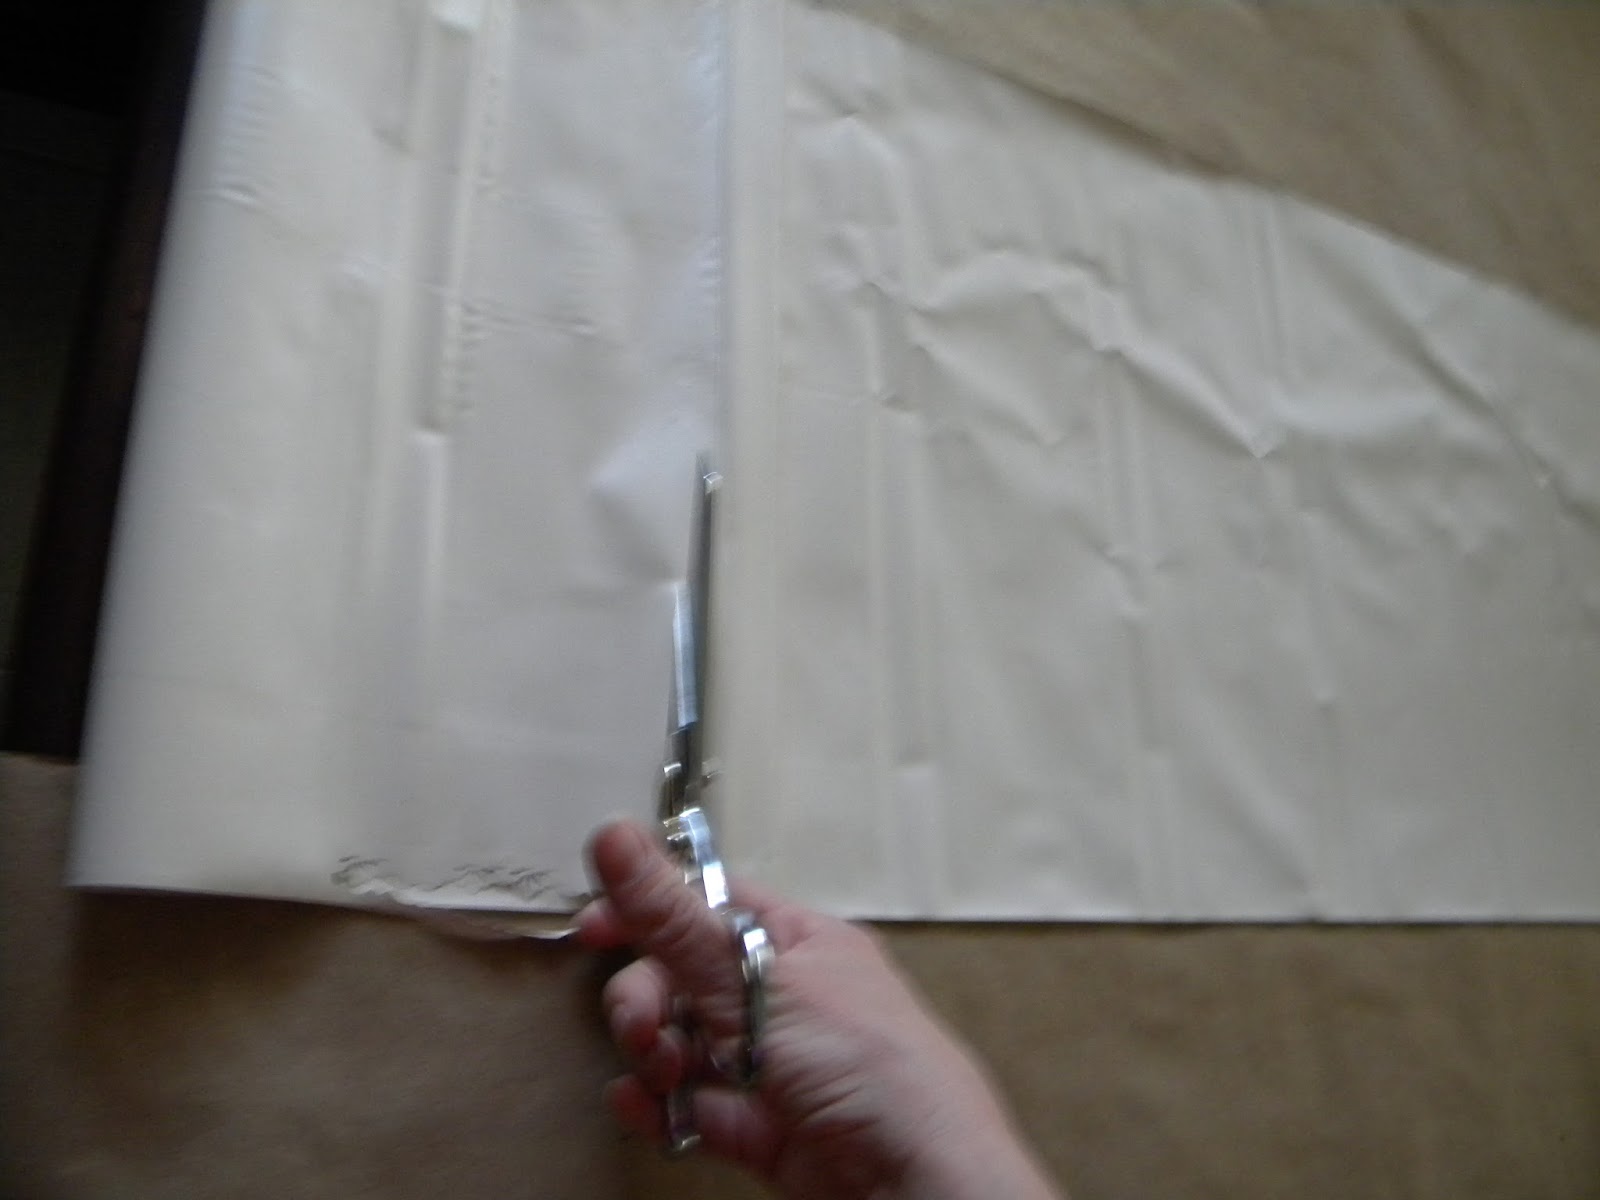
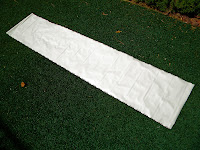
1. Determine your desired length and width for your runner and cut with scissors to fit. This scrap vinyl was 13" wide, which was perfect, then I just rolled it out over the table and cut off enough that it hung over about a foot on either side.

2. Starting on one end, begin punching the edge of the runner. If you are using shears rather than a punch, be sure to remain consistent in the amount of material you are removing. You may consider drawing a faint pencil line 1/4" from the edge to follow along to keep your runner's edge straight.

The punch I chose had guides to line up the pattern after each new punch, this ensures a consistent pattern and even edge.
 3. Repeat on the other side. Be sure to keep whichever side you would like to be the top facing up. Some punches emboss the edges slightly, flipping the vinyl over will result in the two edges looking mismatched.

4. If you are going to punch the ends too, you will need to trim the pattern so your design will flow on the corners. I opted to leave my ends straight.

5. If you are not punching the ends, you may need to trim them so you have a complete pattern (you don't want half of a scallop or just a bit of a flower at the end.

6. Inspect your design for any obvious flaws or hanging tags. Carefully trim with sharp scissors.

7. If your material was rolled, it may need smoothing. It was hot enough here to "iron" it with the heat from the sun. Spread it out on a relatively clean/dry surface, we have artificial lawn, but a patio, chaise lounge, or even a kid's slide will work great. Then smooth out the creases, let sit for about 10 minutes and smooth again.  If it's cool, wet, or both, spread out your runner and blow lightly with a hair drier, be careful that it doesn't get too hot... you don't want to burn yourself or melt your runner onto anything!


8. Smooth over your table... step back and enjoy your masterpiece.
 
9.  Throw a paper table cloth down under your runner and make a Crayon Bouquet to go with it! (Optional <;')

Other Ideas
  •  No paper punch on hand? Here are some other edge ideas, noticed some worked better than others, so do a practice run with a bit of scrap first.

  • Not crazy about table runners? Consider making a set of place mats instead!
  • If you have a house full of windows worth of shade trimmings, consider making runners or place mats for holiday presents, or make a few and keep on hand for housewarming, hostess, or random "I-Love-You" presents.

ENJOY!

The Naptime Gnome <;')

Monday, September 16, 2013

Crayon Bouquet, Girl's Tea Center Piece

Naptime Gnome Idea #4

Make a fun and easy center piece for your next kid-tastic party!

Inspired by the prissy pens at the bank, all gussied up in an attempt to make them harder to pocket, the Gnome fired this out for our annual Mad Hatter Tea Party a couple years ago, but it comes back out all the time because the kids LOVE it. It's required quite a few replacement flowers as they tend to get given away to very attached and enamored little ladies. The kiddles had it out the other day while some friends were visiting.  After some spirited demands for one of their own, it occurred to me that some house gnomes may appreciate some direction on planting crayon flowers.  I'm thinking of "growing" one that matches our kitchen decor to just leave on the table.


Faux Flower Crayon Flower Pot
Crafty Gnomes: 1
 (See the Crafty Gnome Key)
Approximate Cost: <$5
Time to Complete: 1 naptime
Supplies and Tools
  • Crayons
  • Wire cutter (needle nose pliers or old scissors are fine)
  • Green floral tape
  • Scotch tape (optional)
  • Container to hold your bouquet (flower pot, small pail, plastic vase, you get the idea! <;)
  • Ribbon to decorate your container (optional)


Gather Your Materials
Special note on this one, particularly if you're making more than one...
  • Try to use things you already have, like lightly used crayons, bits of ribbons from past gifts, containers in which you've received arrangements in the past, faux flowers you've come across that are maybe a bit too fake to use for anything fancy, etc. 
  • The dollar store often has bouquets for cheap, and they tend to carry floral tape as well. I've purchased it at both the Dollar Tree and the 99¢ Only Store. Oh, and you don't need much, a roll will make OODLES AND OODLES of flower crayons.
Prepping Flowers
1. Just like when you prep real flowers for arrangement, you'll want to thin out the greenery. Maybe leave the leaves <:-) closest to the bloom and removed the rest. You will also want to pull off any small parts, particularly if you have any bitty guests that may be inspired to color. 


2. Using wire cutters (or some other cutting implement you really don't care about much), trim the stems so they are long enough to wrap around the crayon once or twice loosely.


Affixing Flowers to Crayons

3. Wrap the stem around the crayon, bending the wire to conform. Take care to not break the crayon. If you are in a rush, this step isn't imperative, but it will improve the longevity of your work, particularly if you plan on using them often.


4. Wrap a bit of Scotch tape around the crayon and the base of the stem, and another length around the end of the crayon closest to the flower, this will also add some durability so the stems are not simply ripped from the floral tape added in the next step. Again, if you are in a rush, and they don't have to hold up, you can skip this step.

 Wrapping
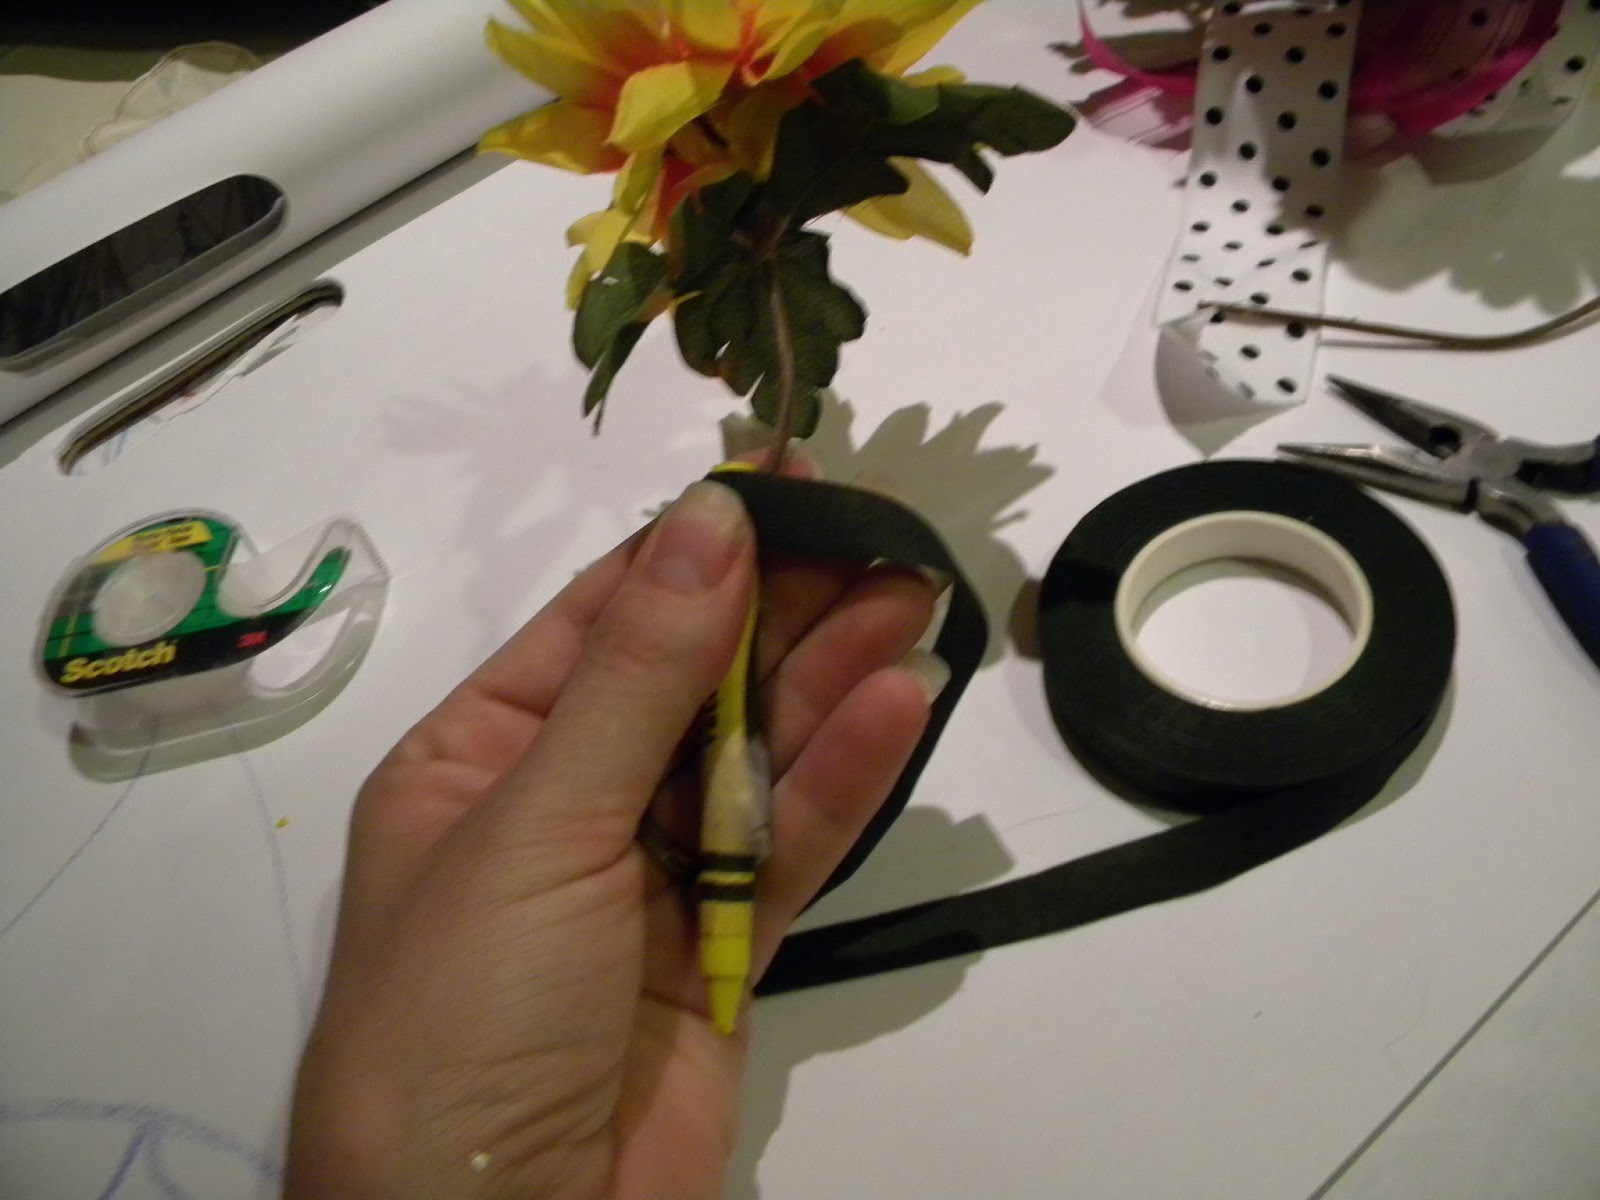
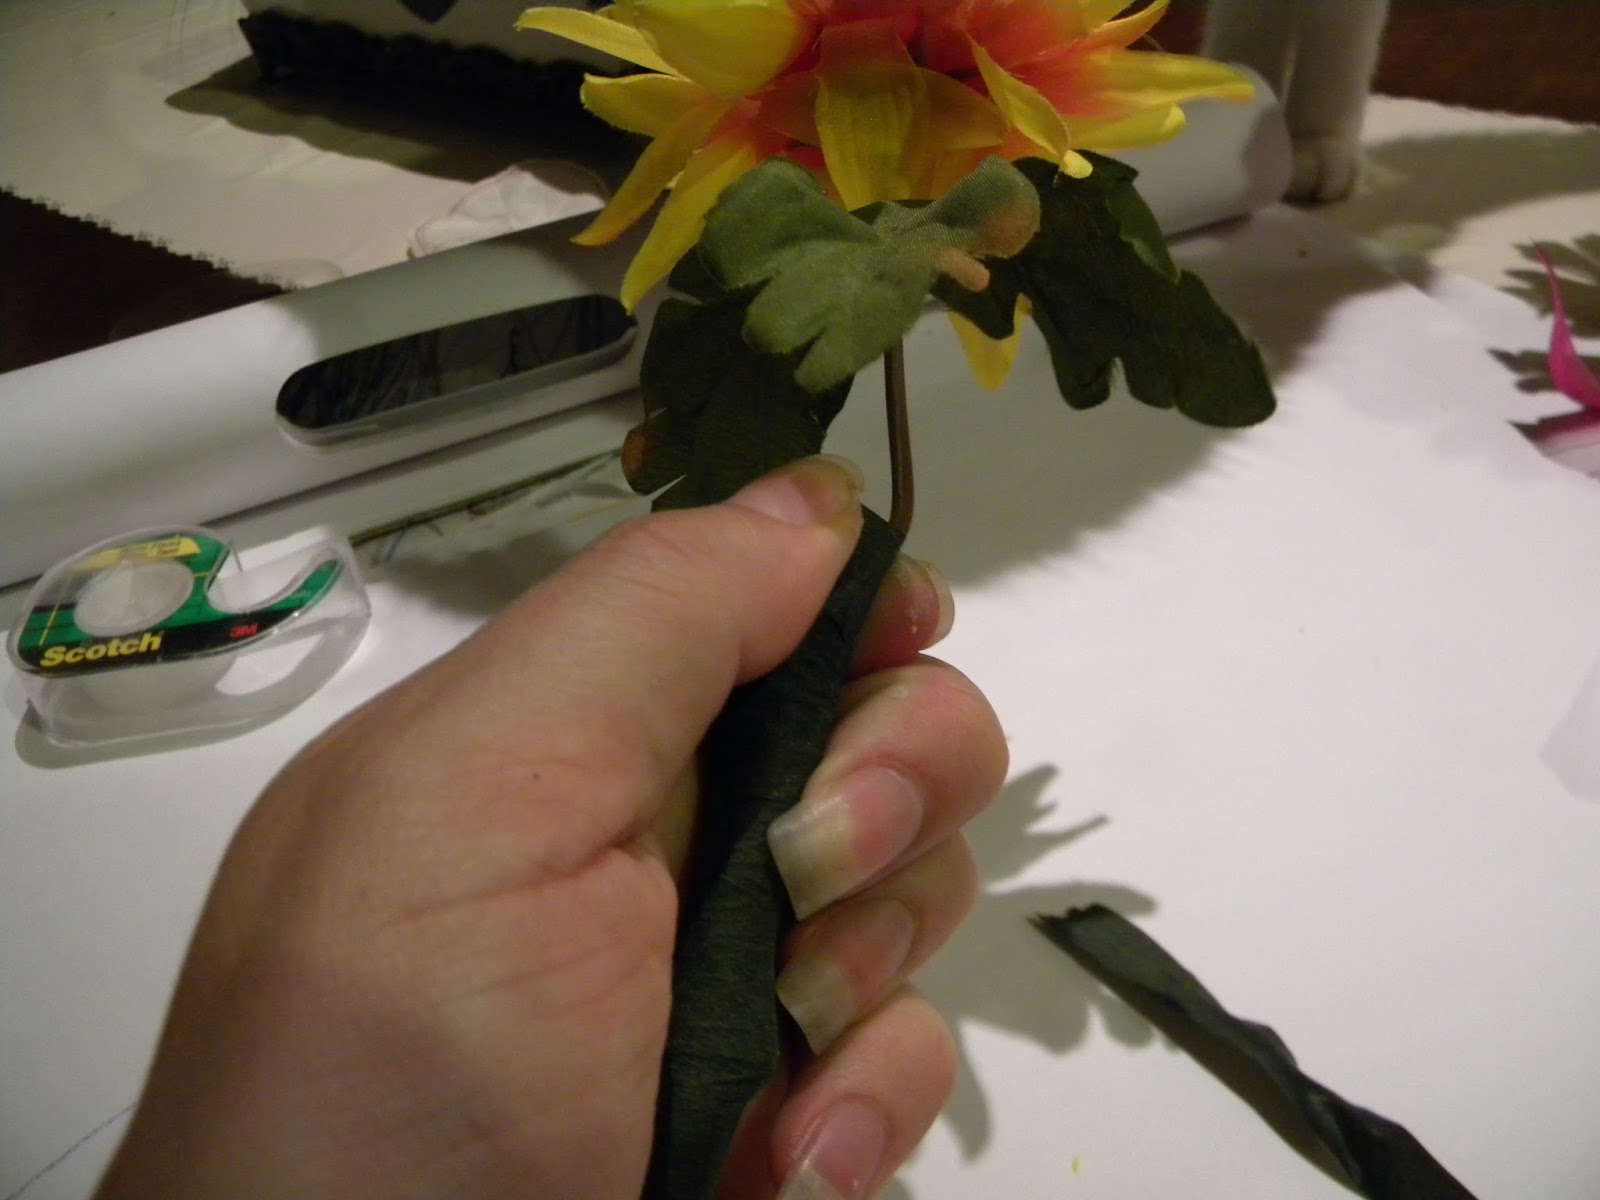
 5. Starting at the flower end of the crayon (top?), begin snugly wrapping the floral tape around both the crayon and flower stem, working your way down the crayon (imagine the spiral stripes of a candy cane and "follow" them).

NOTE: You do not necessarily have to start wrapping near the flower, but you should definitely finish the wrap near the flower so the end of the tap is not where you would hold the crayon.


6. Once you've reached the end of the crayon wrapper, begin wrapping back up towards the flower.

7. Once you've reached the place you started wrapping, you can repeat the wrapping process a few more times to make sure the flower isn't going anywhere.

8. Because ours get A LOT of love and I usually have several rolls of cheapy paper floral tape on hand, they are wrapped down-and-back, 3 times. But I've tried both once and twice, and they are perfectly serviceable.  With the plasticized floral tape, you only need to make one "lap."


9. When you are satisfied with your wrap job, simply tear (or cut if using sturdier plastic tape) and wrap the end around snugly.


10. Press the tape end snugly with a wiping motion over the end to secure it.


11. Repeat for all the crayons. With this arrangement I used the same color crayons as flowers. The leave are attached to various green crayons.

12. Decorate your container as you desire and insert your "flowers."

ENJOY!

 The Naptime Gnome <;')