Make a fun and easy center piece for your next kid-tastic party!

Faux Flower Crayon Flower Pot
Crafty Gnomes: 1
(See the Crafty Gnome Key)
Approximate Cost: <$5
Time to Complete: 1 naptime
Supplies and Tools
- Crayons
- Wire cutter (needle nose pliers or old scissors are fine)
- Green floral tape
- Scotch tape (optional)
- Container to hold your bouquet (flower pot, small pail, plastic vase, you get the idea! <;)
- Ribbon to decorate your container (optional)

Gather Your Materials
Special note on this one, particularly if you're making more than one...
- Try to use things you already have, like lightly used crayons, bits of ribbons from past gifts, containers in which you've received arrangements in the past, faux flowers you've come across that are maybe a bit too fake to use for anything fancy, etc.
- The dollar store often has bouquets for cheap, and they tend to carry floral tape as well. I've purchased it at both the Dollar Tree and the 99¢ Only Store. Oh, and you don't need much, a roll will make OODLES AND OODLES of flower crayons.
 1. Just like when you prep real flowers for arrangement, you'll want to thin out the greenery. Maybe leave the leaves <:-) closest to the bloom and removed the rest. You will also want to pull off any small parts, particularly if you have any bitty guests that may be inspired to color.
  2. Using wire cutters (or some other cutting implement you really don't care about much), trim the stems so they are long enough to wrap around the crayon once or twice loosely.
Affixing Flowers to Crayons
 3. Wrap the stem around the crayon, bending the wire to conform. Take care to not break the crayon. If you are in a rush, this step isn't imperative, but it will improve the longevity of your work, particularly if you plan on using them often.
Wrapping
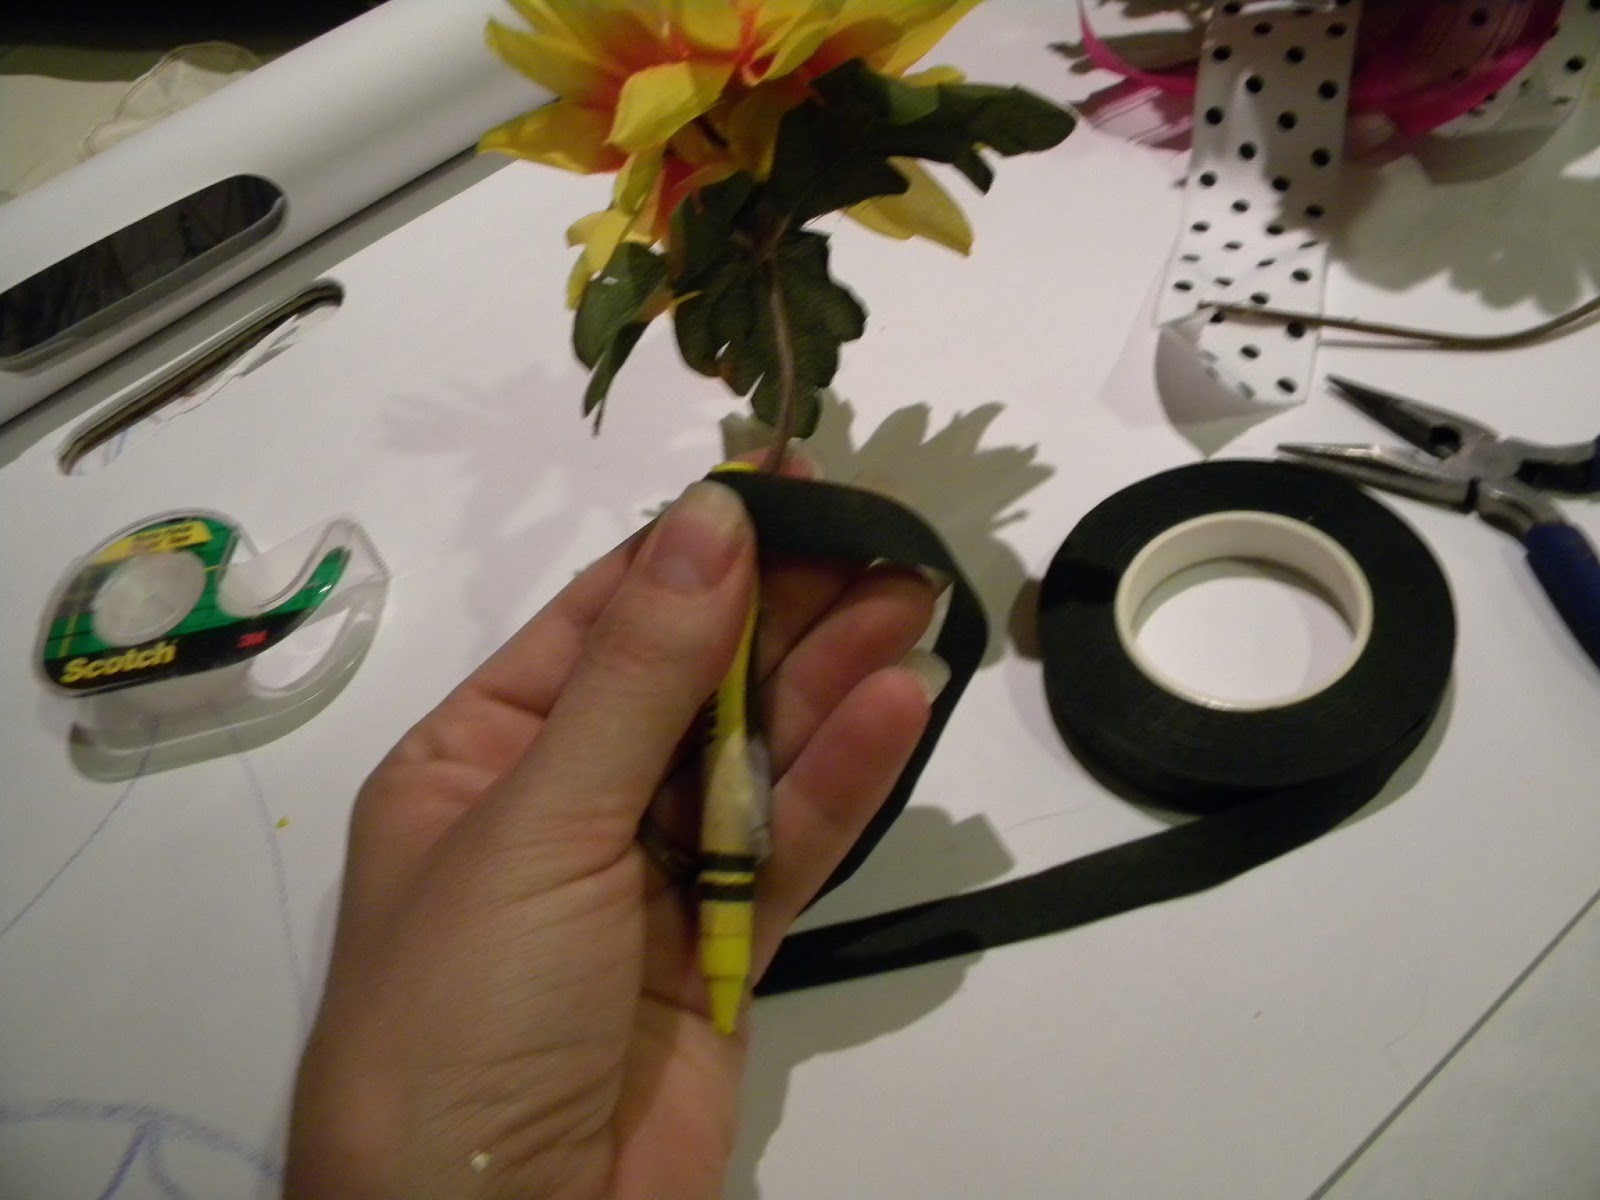
NOTE: You do not necessarily have to start wrapping near the flower, but you should definitely finish the wrap near the flower so the end of the tap is not where you would hold the crayon.


6. Once you've reached the end of the crayon wrapper, begin wrapping back up towards the flower.
7. Once you've reached the place you started wrapping, you can repeat the wrapping process a few more times to make sure the flower isn't going anywhere.
 8. Because ours get A LOT of love and I usually have several rolls of cheapy paper floral tape on hand, they are wrapped down-and-back, 3 times. But I've tried both once and twice, and they are perfectly serviceable. With the plasticized floral tape, you only need to make one "lap."
  9. When you are satisfied with your wrap job, simply tear (or cut if using sturdier plastic tape) and wrap the end around snugly.
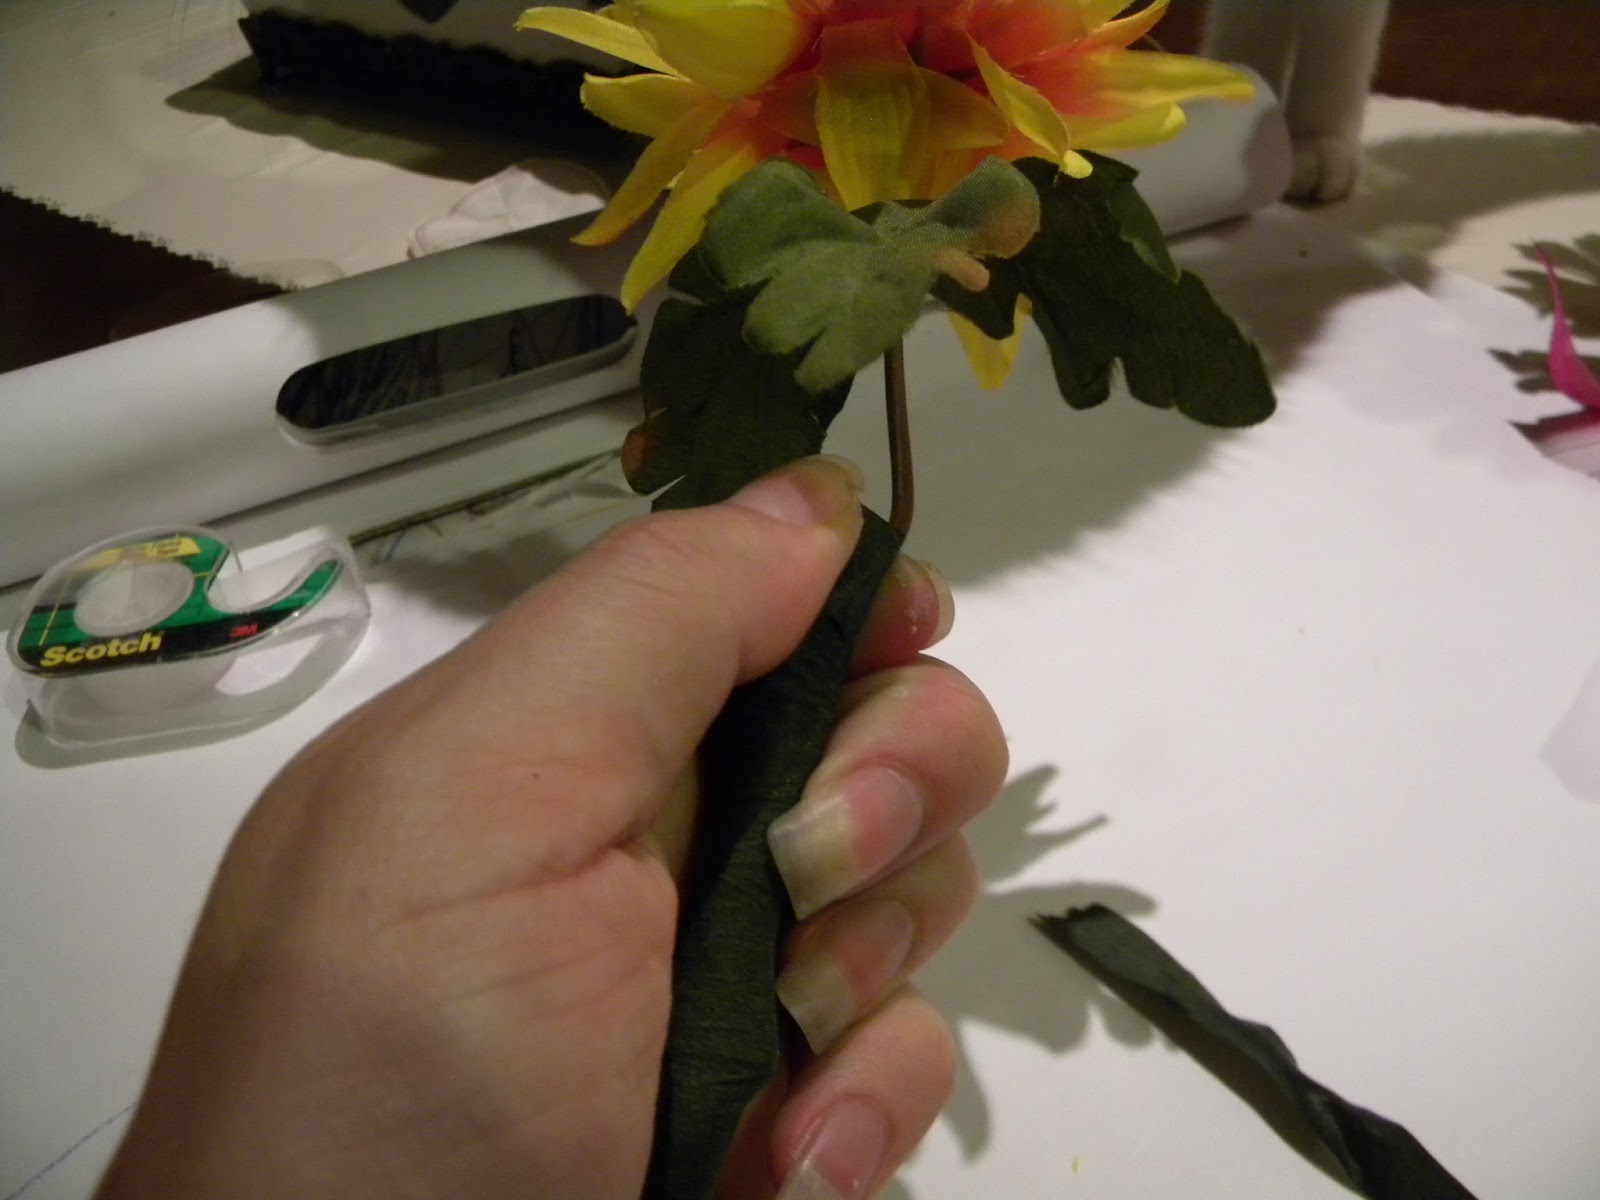 10. Press the tape end snugly with a wiping motion over the end to secure it.
 11. Repeat for all the crayons. With this arrangement I used the same color crayons as flowers. The leave are attached to various green crayons.
12. Decorate your container as you desire and insert your "flowers."
ENJOY!
The Naptime Gnome <;')
No comments:
Post a Comment
Thank you for commenting! We love to hear your thoughts!