Don't throw away the trimmed ends of pull shades! Re-purpose!

Two dilemmas needed fixing:
- We needed a kid-proof runner to cover the seam in our packing paper "table cloth"
- There were some several-year-old trimmed ends of window shades that needed to vacate the craft space
A wipe-clean table runner made from castoff window pull-shade scraps
NOTE: You could do the same thing with any spare scraps of vinyl or paper.
DIY Paper Punch Vinyl Table Runner
Crafty Gnomes: 1
Time to Complete: 1 naptime with time to spare!
Supplies and Tools
- Vinyl pull-shade trimmed end

-This same technique on butcher paper would make a pretty lacy table covering for a girls' tea party, don't forget to set the table with a Crayon Bouquet (see tutorial)!
- Scissors
- Paper punch or decorative shears
Measuring your runner

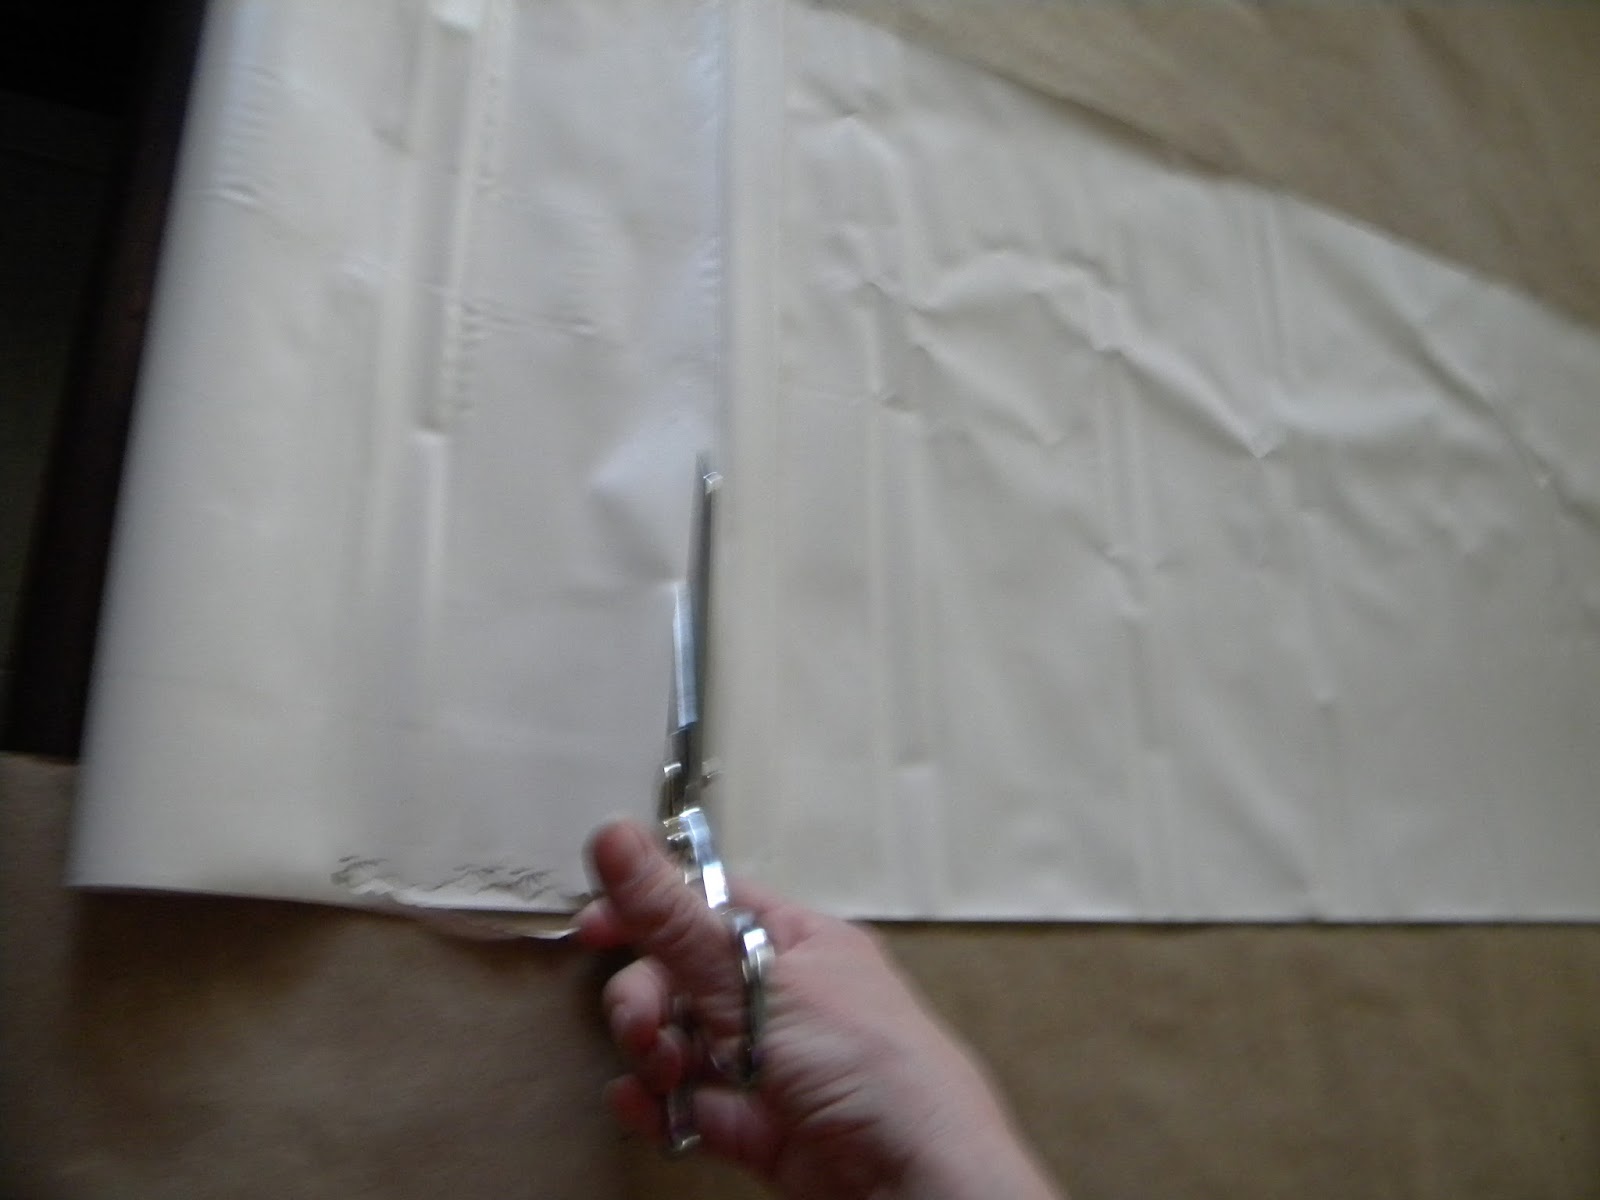
2. Starting on one end, begin punching the edge of the runner. If you are using shears rather than a punch, be sure to remain consistent in the amount of material you are removing. You may consider drawing a faint pencil line 1/4" from the edge to follow along to keep your runner's edge straight.

 |
| The punch I chose had guides to line up the pattern after each new punch, this ensures a consistent pattern and even edge. |
4. If you are going to punch the ends too, you will need to trim the pattern so your design will flow on the corners. I opted to leave my ends straight.
5. If you are not punching the ends, you may need to trim them so you have a complete pattern (you don't want half of a scallop or just a bit of a flower at the end.
6. Inspect your design for any obvious flaws or hanging tags. Carefully trim with sharp scissors.

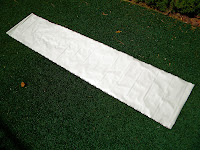
7. If your material was rolled, it may need smoothing. It was hot enough here to "iron" it with the heat from the sun. Spread it out on a relatively clean/dry surface, we have artificial lawn, but a patio, chaise lounge, or even a kid's slide will work great. Then smooth out the creases, let sit for about 10 minutes and smooth again. If it's cool, wet, or both, spread out your runner and blow lightly with a hair drier, be careful that it doesn't get too hot... you don't want to burn yourself or melt your runner onto anything!

8. Smooth over your table... step back and enjoy your masterpiece.

9. Throw a paper table cloth down under your runner and make a Crayon Bouquet to go with it! (Optional <;')
Other Ideas
- No paper punch on hand? Here are some other edge ideas, noticed some worked better than others, so do a practice run with a bit of scrap first.

- Not crazy about table runners? Consider making a set of place mats instead!
- If you have a house full of windows worth of shade trimmings, consider making runners or place mats for holiday presents, or make a few and keep on hand for housewarming, hostess, or random "I-Love-You" presents.
ENJOY!
The Naptime Gnome <;')
No comments:
Post a Comment
Thank you for commenting! We love to hear your thoughts!